
Engineering a Standardised Industrial Landscape: Automation and Quality Control
Published: 03/03/2023
Engineering a Standardised Industrial Landscape: Automation and Quality Control
When it comes to quality control, automation has proven to be a game-changer possessed with the power to revolutionise and standardise the industry. From waste reduction and accurate error detection to real-time data feedback and consistency, we are witnessing a paradigm shift to a digitised review process with a plethora of benefits.
What is the difference between manual and automated inspections?
Manual Quality Control Inspection
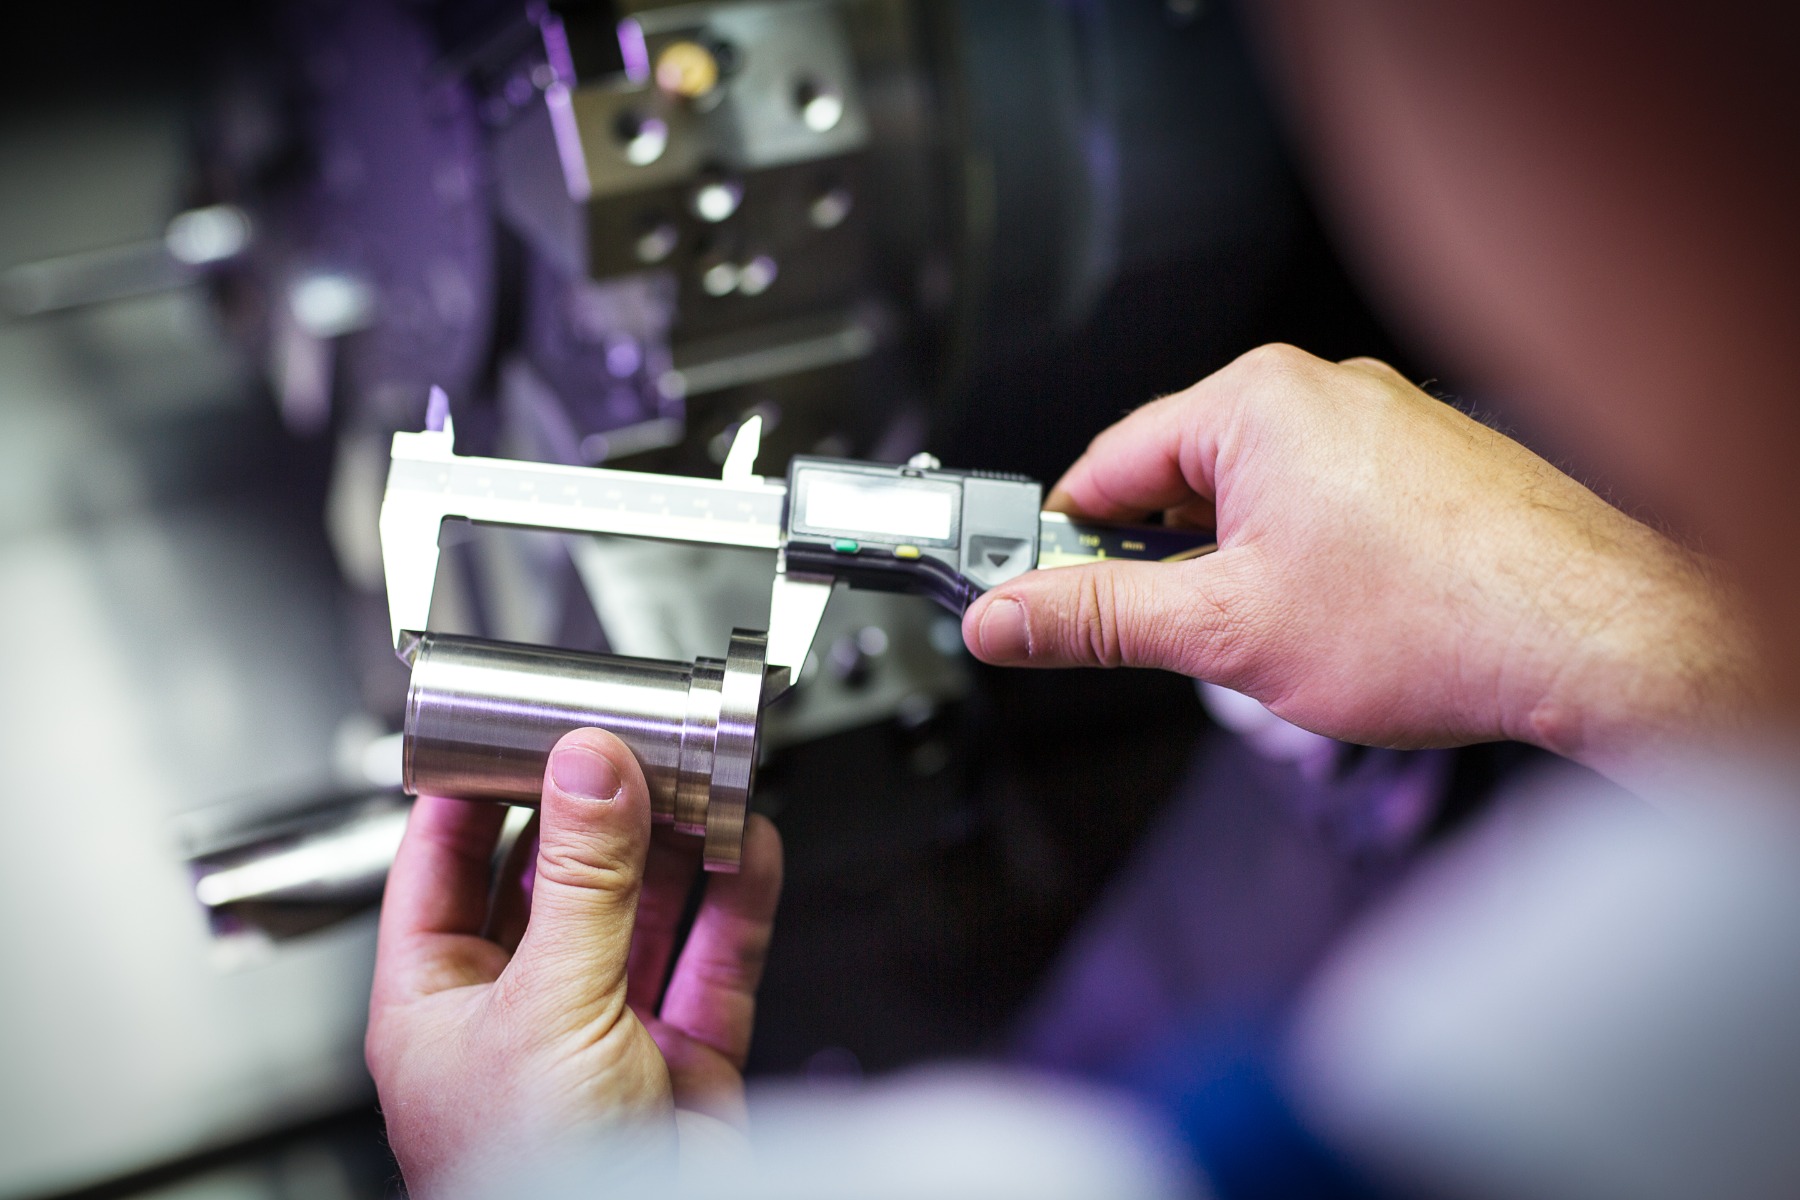
Manual inspections rely solely on human intervention with no technological input. Machine operators visually inspect and evaluate both throughout the manufacturing process and once the final product has been assembled. The clear drawback to this approach is that humans are entirely responsible for guaranteeing quality, increasing risk and reducing reliability. For instance, if a technician is delayed in carrying out their inspection, several bottlenecks could form throughout the entire supply chain. Negating this congestion depends entirely on the consistency and efficiency of the employee. Specifically in mass production settings, inspecting every product is an unviable goal. Taking the time to manually check each product would slow production meaning demand could not be met soon enough, potentially leading to loss of custom. Likewise, not inspecting each product means potential anomalies in consistency of quality.
Automated Quality Control Inspection
The pitfalls associated with human intervention are minimised with an automated approach. Introducing various technologies into the inspection process, machine vision has proven to be incredibly accurate for a variety of industries. This allows for the operator to program a certain set of criteria into the system. If an error occurs and the quality level is not met, an alert is flagged. This not only allows you to address any issues promptly but also means you save costs associated with repeat inspections.
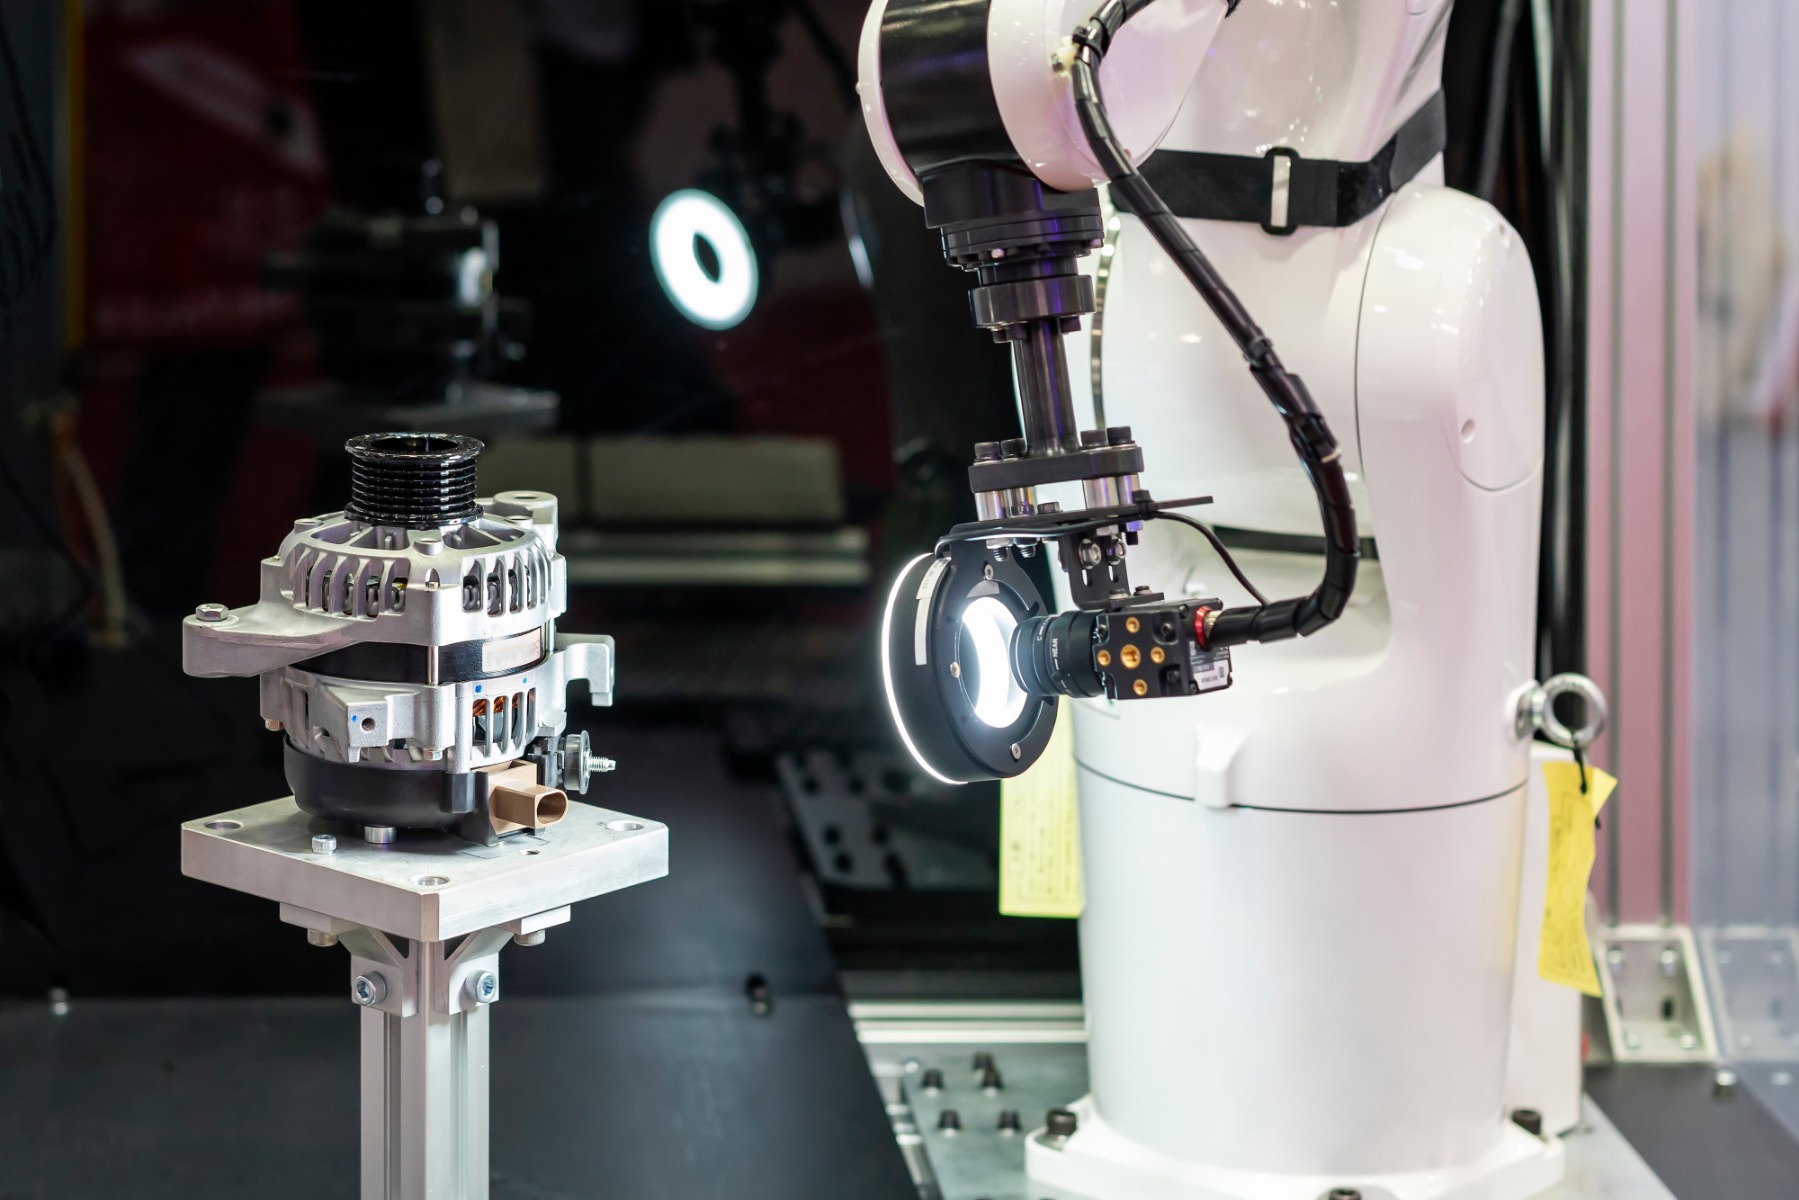
Machine Vision: How Does It Work?
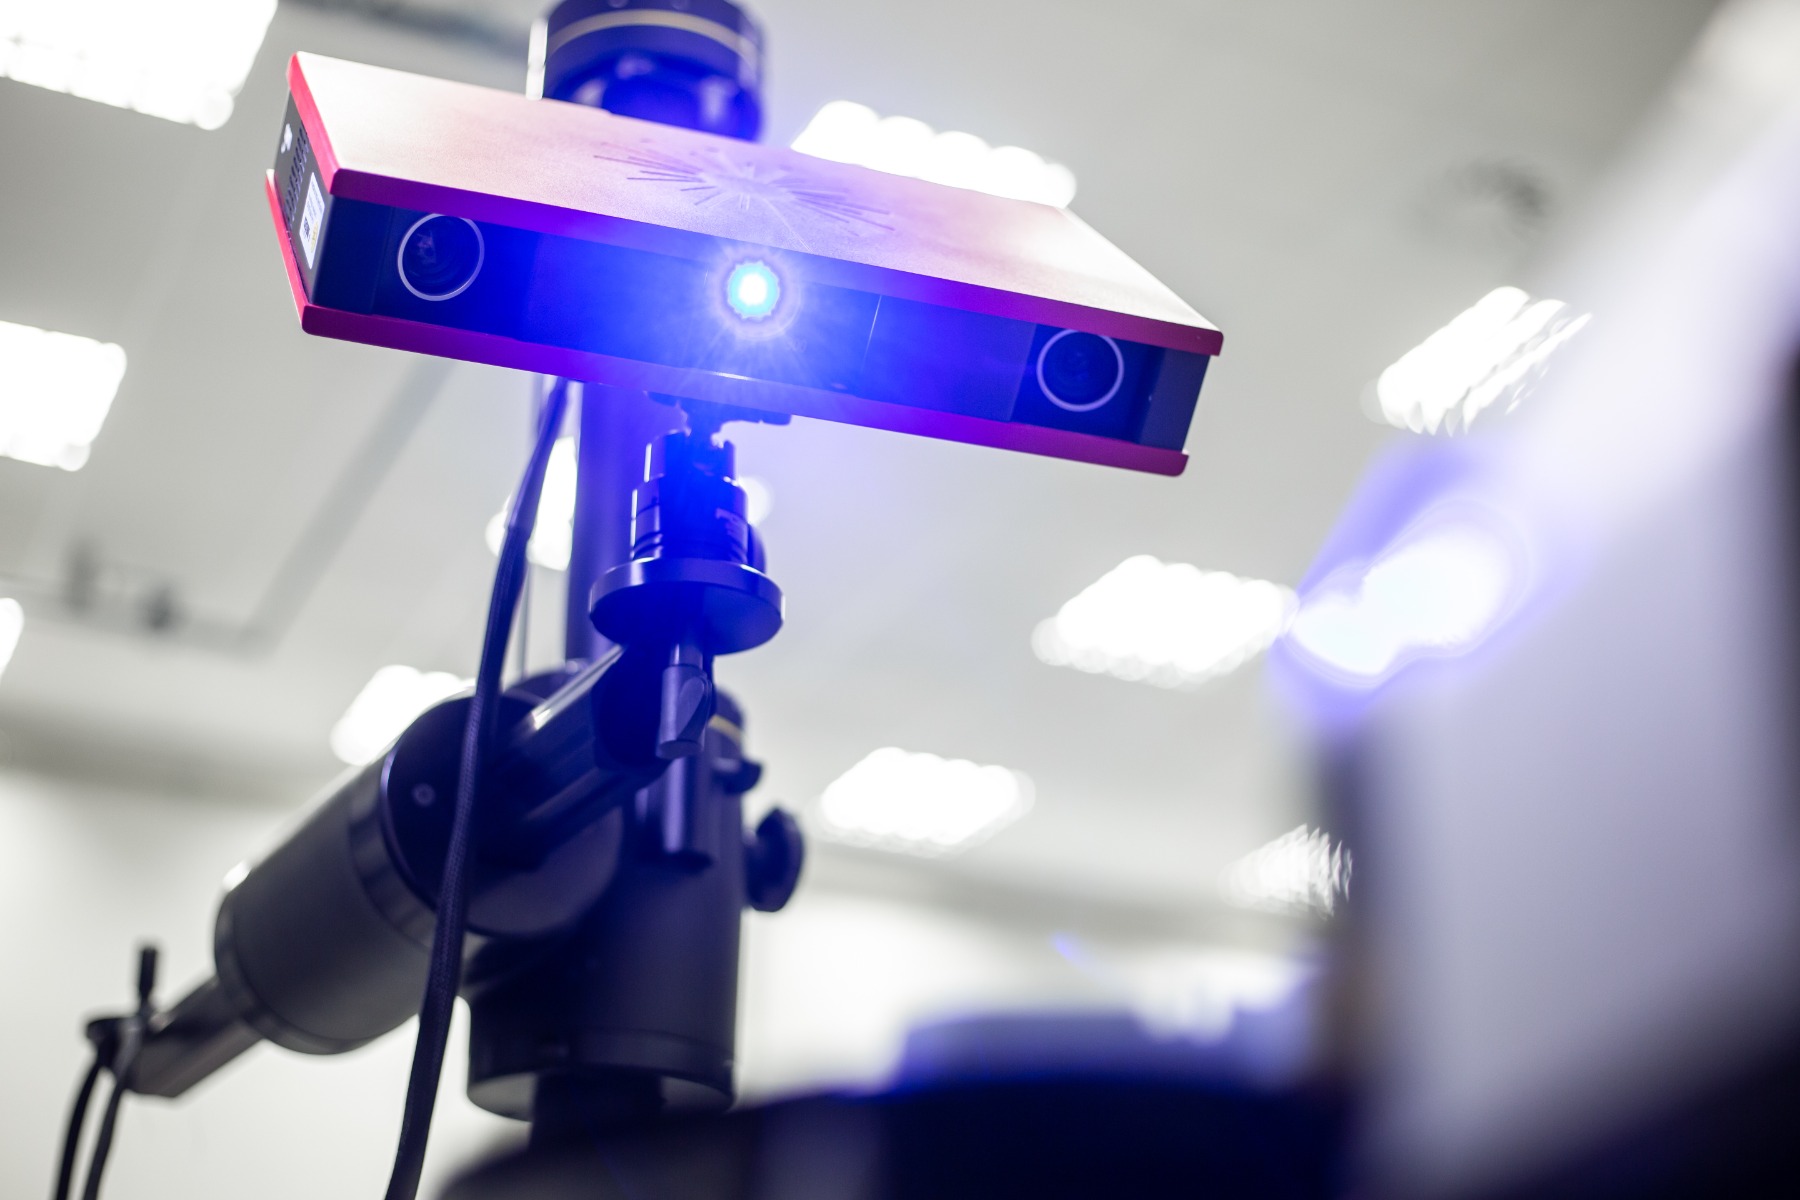
Generally speaking, cameras are used to capture visual data which translates to an analysis of the overall quality. Aside from analysing the overall quality, this methodology is also used specifically to identify surface or colour defects, printing inconsistencies and can even utilise print character reading technology to pinpoint text variances. There are two types of cameras used.
Line scan cameras establish an image, a single pixel at a time and are most commonly used for uniquely shaped products. A sensor travels over the product while it is in linear motion, capturing the visual data. This is a more customisable option as there is no restrictive resolution limitation. Using automated hardware and software, machine vision does not detect the image as a whole with line scan cameras. It is capable of identifying individual elements of an image which is what makes it such a desirable option. For example, this may be a case of disregarding the background so the analysis is carried out on the product itself, providing an accurate quality analysis.
Their competitor is the area scan camera which captures the image in a singular frame. Like with the line scan, a sensor is used but instead is a rectangular shape and however many pixels are contained within the sensor matches the sizing of the final image. These are commonly used in manufacturing processes where the same size item is produced repeatedly. 3D sensors are also sometimes used, capable of high speed data capture at a high resolution.
Defects can be so incredibly small that they are missed by the naked eye and despite their miniscule nature, they can have a catastrophic impact on the final product. Using the aerospace industry as an example, even the slightest variance in the size of a bearing can cause significant structural issues along with potentially not meeting regulatory standards. It is worth noting that although machine vision is incredibly useful for defect detection, photographing these small parts is an intricate process requiring varied angles to capture a true representation of the component along with its surface. Depending on your requirements, machine vision can incorporate multiple cameras with varied lenses and resolutions to produce the desired level of detail and optical quality.
When it comes to choosing the right automated inspection process for you, the answer is incredibly specific to your requirements. Map out your existing quality control procedure, identify any issues and determine which option best quells your pain points.
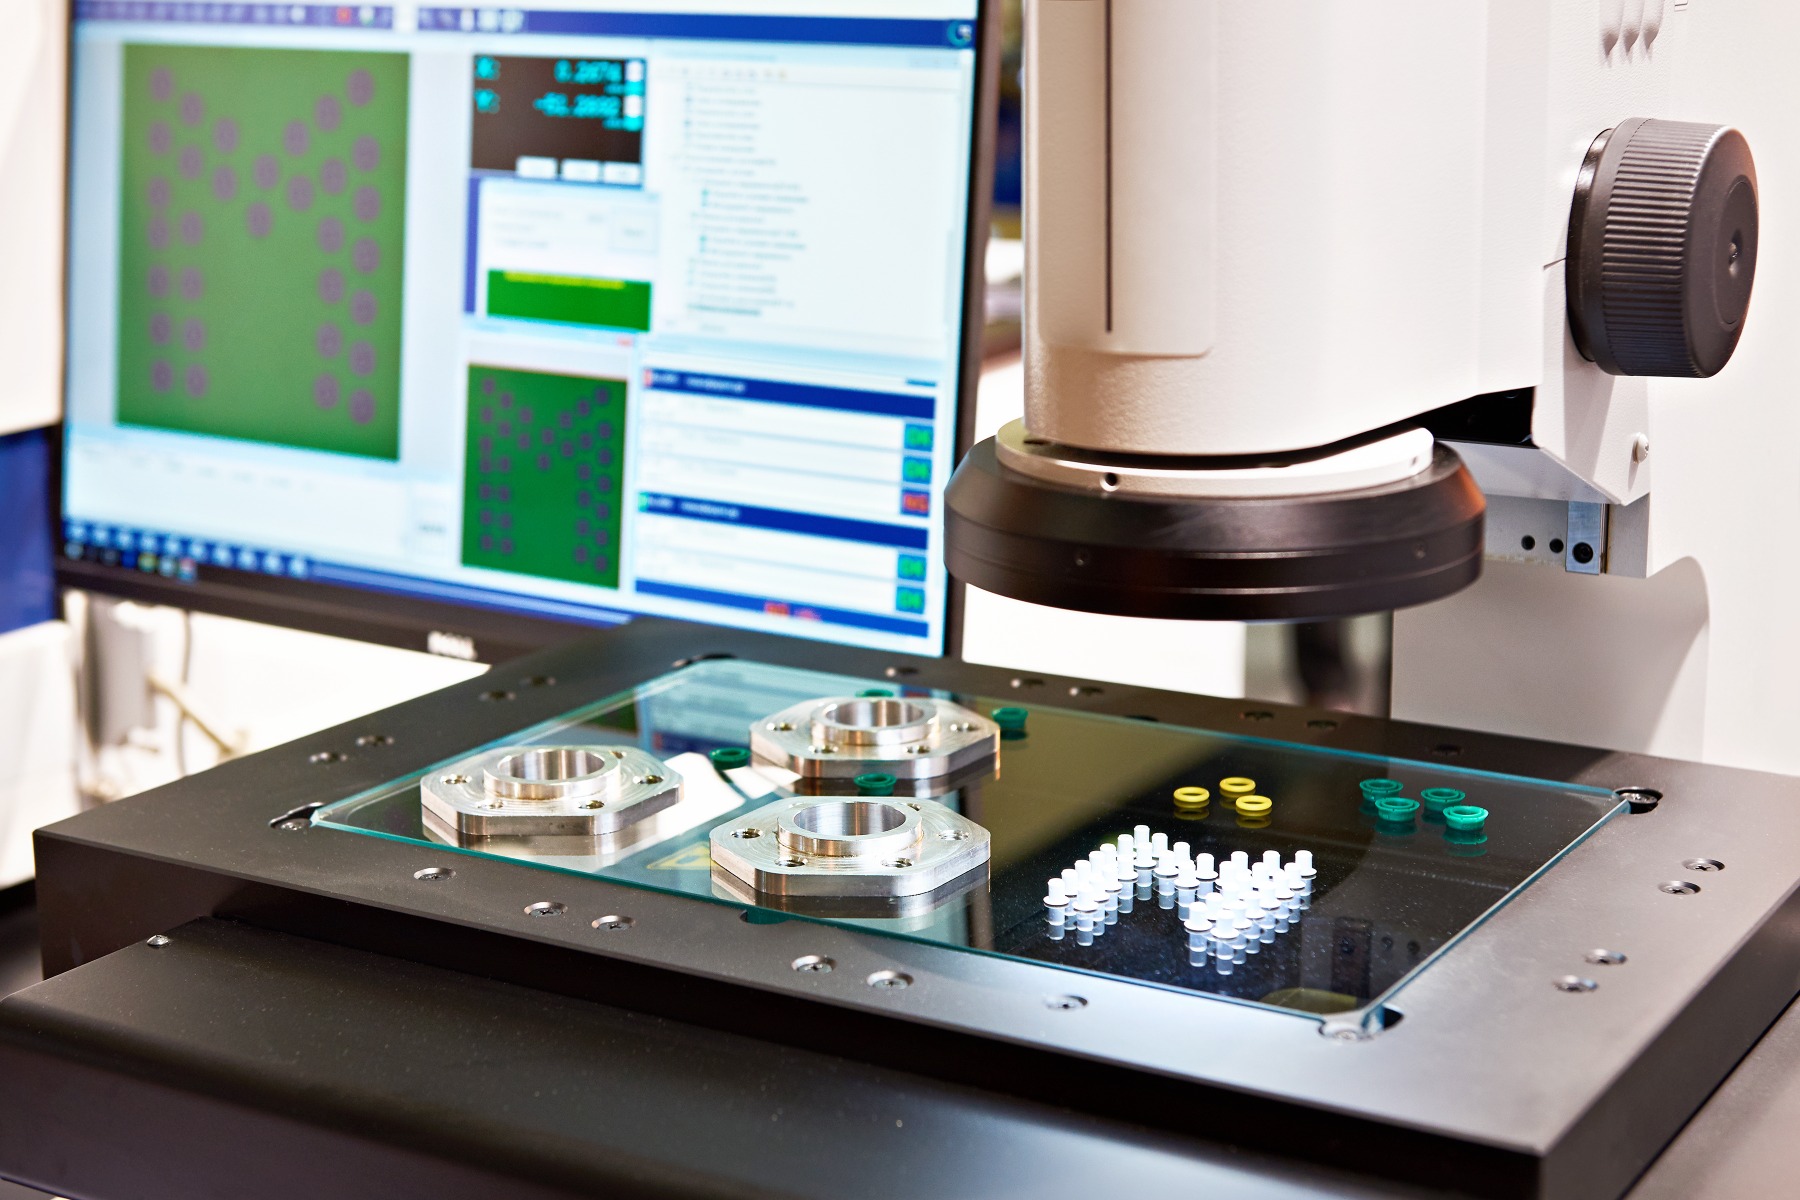
How Does Automation Improve Quality?
There is a seemingly endless list of benefits to dive into when it comes to automated inspections.
Consistency and Accuracy
Arguably the most significant benefit of automation is consistency. If there are a handful of operators performing the same task, it is very unlikely that they will perform exactly the same, every time. If you apply this logic to quality control, one technician may identify certain faults where another fails to notice. Automating the process provides a consistent result. Being consistent is crucial but in tandem, being consistently accurate is of equal importance. This hardware and software combination can carry out hundreds of quality checks and provide identical results.
Minimising Human Error
We have all heard the phrase “I am only human” and we all know that making mistakes is inherently human, as much as we try to prevent them. Anything from a distraction on the factory floor to a momentary loss of focus could mean a product passes through its quality check with a pass despite it being faulty.
Evolving Product Manufacturing
Our world is anything but stagnant with consumerism running rampant and technology advancing rapidly. If you operate in any type of manufacturing industry, there is an increasing pressure to supply the demand for more complex products. However, the more complex the product, the more detailed inspection required which may not be possible without automated machine vision.
Self-Diagnosing Errors
Integrating technology into your quality inspections is one thing but what happens when they experience an error? If your system does fail, the sensors which are connected to the machinery are able to send an alert to the technician. This is absolutely invaluable. Imagine a scenario where an element of your quality control system fails and it is left broken. How much time will be wasted? With these sensors, this concern is completely eliminated.
Productivity
The speed at which these inspections are carried out is incredibly fast. More parts are assessed per hour which means irregularities are identified and rectified far sooner. In some cases, faults can mean the production line has to halt temporarily and so to prevent unnecessary downtime, the fault finding speed is crucial.
Reduce Manufacturing Waste
With higher levels of quality assurance, there is much less wastage throughout the production process. In the case of an anomaly being identified, the faulty product and all associated materials are scrapped, you are threatened by downtime and new materials would have to be purchased. With an automated inspection system, enhanced accuracy holds the power to reduce this risk. If products passed their quality checks despite being inferior, reached the customer and had to be recalled, the domino effect goes far beyond a short term financial impact. Instead, customers lose faith in your brand, potentially impacting long term sales.

How Are Vehicle Inspections Shifting to the Automated Lane?
As technology has progressed to such an advanced level, automated vehicle inspections have become the norm in commercial automotive manufacturing spaces. A mixture of the latest graphical processing units and dynamic cloud platforms (to name just a few of the contributing technologies) have transformed an idea into a reality. Countless images are taken, processed and analysed for defects, converting to visible data.
What may be invisible to the human eye is shown on these images. Everything from microscopic scratches and chips in the paintwork to dents are then displayed via a human machine interface. As the same machinery is carrying out this quality analysis, consistency standards are met throughout the supply chain. The resolution of these photos is crucial as the defect detection relies on being able to analyse the pixels in search of a fault. With poor resolution, automating quality control offers very little advantage. Composition is also key, especially for a newly painted vehicle with a fresh coat of polish. The reflective surface adds a hurdle ahead of providing a useful image and specific sensors with premium resolution levels are necessary. A standard machine vision camera would be insufficient.
Perhaps the largest benefit to automotive manufacturers is traceability. Upon the sale of a vehicle, a warranty is supplied, however what happens when the customer receives their shiny new motor and notices some damage? The OEM is able to view the photos associated with the manufacturing of that specific vehicle, identifying the time at which the damage occurred, whether that be during the manufacturing process or further down the supply chain. This is invaluable when it comes to continuous improvement. Likewise, alerts are in place throughout the assembly process, flagging any errors in programming or missing components, meaning the vehicle does not leave the factory floor at below par quality.
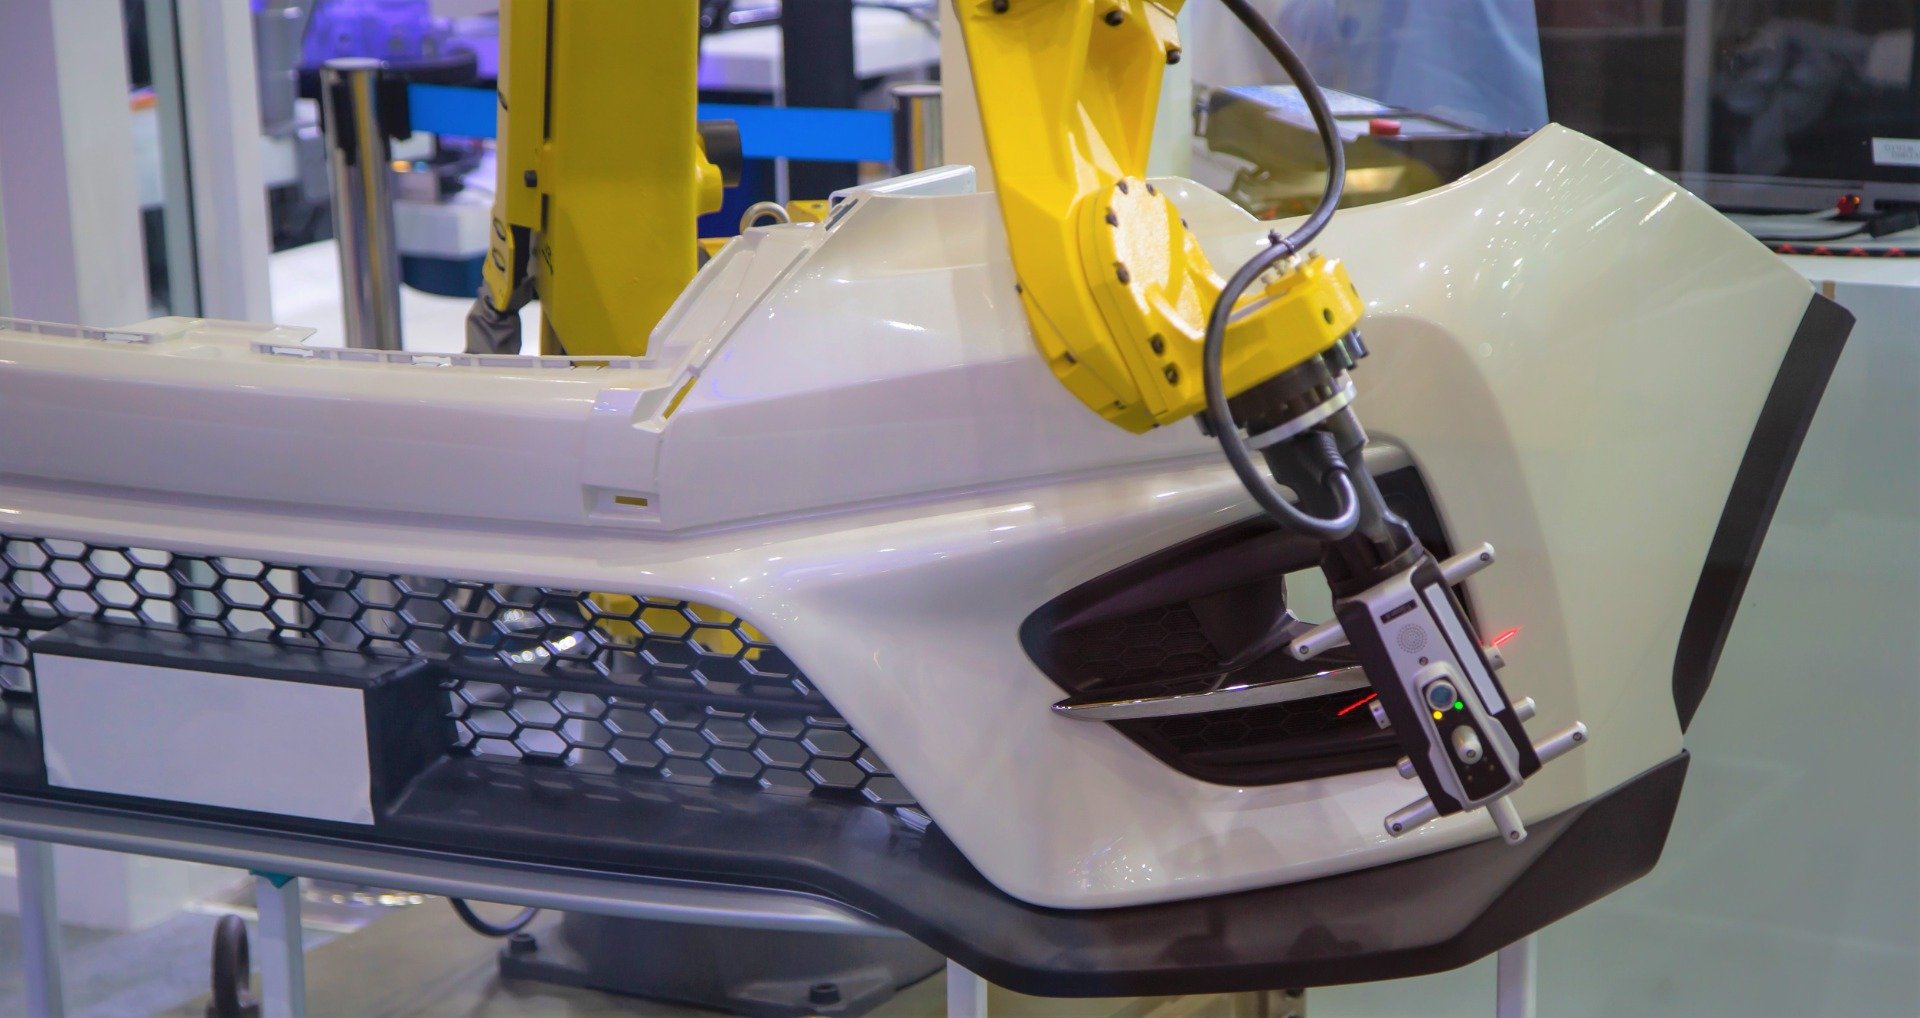
Automated inspections are clearly shaping the future of quality control.
Implementing automation throughout various stages of manufacturing has already proven to be highly effective, however the inclusion of automated inspections adds an additional tier of assurance, forming an end-to-end agile process. As technology advances and Industry 4.0 advances, even greater automated opportunities will be on the horizon for the manufacturing sphere.
Want to find out more?
If you'd like to learn more, click the button below and one of our helpful friendly team will be in touch. Alternately you can reach us by phone on +44 800 234 3747
Share this article


